Let’s kick this little guide off by explaining what drywall is first. It’s a piece of construction material made of gypsum plaster and is sandwiched between two layers of paper. You can use it to build ceilings, arches, and walls.
It’s a quicker and more effective alternative to using concrete in construction. But what secures this drywall in place? That’s right; it’s drywall screws!
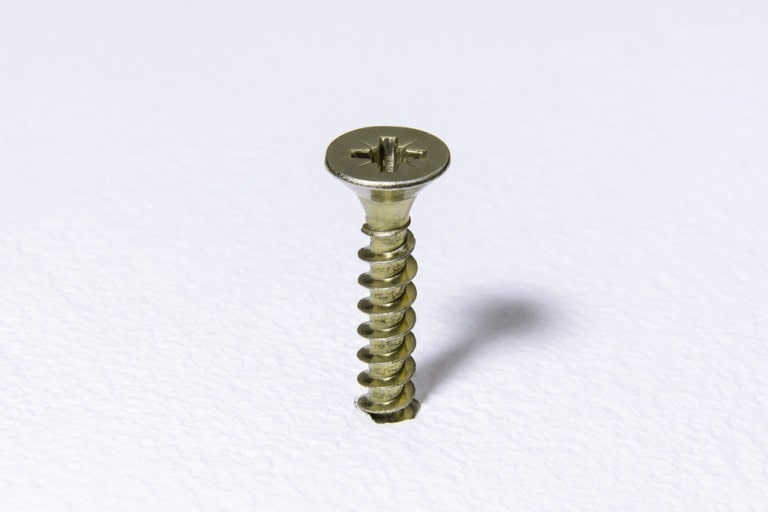
As you might’ve guessed from the name, drywall screws are specially designed to hold drywall in place. There are various types, each with uses and characteristics that make it more or less suitable for specific projects.
That’s why, before you start any construction project, it’s essential to read up on the different types of drywall screws and their uses. So, let’s start together!
Types of Drywall Screws
As I mentioned, there are many types of drywall screws, each with its use, including the following main ones:
1. Coarse Thread vs. Fine Thread
The difference between coarse and fine thread screws lies in the number and spacing of the thread along the shaft.
With coarse screws, there are fewer threads per inch, and you can see the head is a bit larger and wider. You can use this type for securing the drywall to wooden studs and joists.
As for fine-threaded drywall screws, they have more threads and are better suited for joining drywall to metal. Unlike the coarse ones, fine thread screws allow for better traction and don’t chew through the metal.
2. Self-Drilling vs. Traditional
Though the names can give a bit of a hint, let me give you the low-down on these two screw types. Self-drilling, or self-tapping, screws are designed to eliminate the need for a pilot hole and save you some effort.
They have a drill bit-like tip that can easily bore through metal or wood as thick as 2.0 mm!
Traditional screws, on the other hand, are usually used to attach drywall to wooden or metal studs that are no more than 0.7mm thick. They don’t usually need pilot holes but take more effort as they don’t have self-drilling tips.
3. Gypsum Board vs. Cement Board
First, gypsum board is just another name for drywall which is made out of gypsum, a soft sulfate mineral. In contrast, cement boards are made of hard cement and reinforced fibers.
Screws designed for gypsum boards won’t drive well through cement boards. On the other hand, screws for cement boards might do too much damage to gypsum boards.
Put simply, the materials used for each screw type are compatible only with their designated application.
Sizes and Lengths of Drywall Screws
When starting a new construction project, you’ll have to remember the lengths of all the drywall screws and the appropriate wall thickness. Here’s a little cheat sheet:
- Use 1 or 1¼-inch screws with ¼-inch drywall
- Use 1¼ -inch screws or 1⅝-inch with ½-inch drywall
- Use 1⅝ or 2-inch screws with ⅝-inch drywall
Besides the length, you also have the gauge, i.e., the diameter, to look for. There are #6 screws which are 0.1380-inch and #8 screws which are 0.1640-inch. Usually, you can use either one without any issues.
How to Choose the Right Drywall Screw for Your Project
As you probably know by now, you can’t simply choose any type of screw to work with. You’ll need to think of these factors:
-
- Project Type: For instance, if you’re working with metal studs, using fine-thread screws is a must! Contrastingly, wooden studs need coarse-thread screws.
- Wall Type and Thickness: Using a 1-inch drywall screw with a ⅝-inch thick concrete board is a recipe for disaster! So, keep your eyes on the material you’re using and its thickness.
- Selecting Screw Size and Length: Before you pick the screws, consider the wall’s thickness, the weight they’ll bear, the type of material, head type, and thread type.
Tips for Installing Drywall Screws
Now that you know all about drywall screws, it’s time to learn how to install one properly! Here are some of the main points:
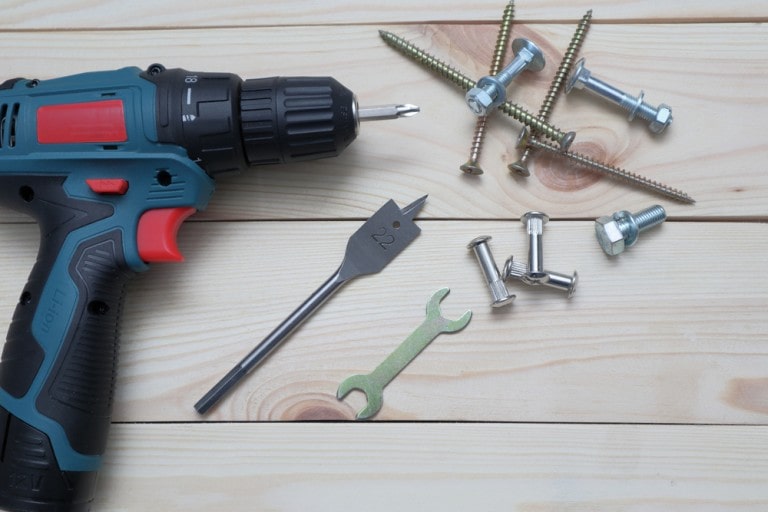
1. Using a Drill or Screwdriver
A drill is the way to go if you want to cut down on time or effort. Drills help take the load of driving off your hand, so you can focus more on placing the screw correctly.
A screwdriver is also a good option if you don’t have a drill at hand. Just ensure to use the correct screwdriver for the job, usually one with a Phillips head or a flat tip.
2. Proper Depth and Spacing
Essentially, you need your screws to get through the drywall and into the stud without breaking the front paper layer or causing any damage.
This means you’ll need to find out the wall’s thickness to use the proper screw length. Regarding spacing, a good rule of thumb is to keep the screws about 12 inches apart on ceilings, 16 inches on walls, and 8 inches with edges.
3. Pre-drilling for Hard Materials
When drilling into hard material, you’ll notice that it can take some effort for the screw to get through. Plus, your hands could slip and cause damage to the drill bit or your hand.
That’s why it’s vital to pre-drill a smaller hole where you want the screw to go in. It’ll make it much easier to get the screw through while keeping your hands safe.
Common Problems and Mistakes When Installing Drywall Screws
Though installing screws is pretty straightforward, you’ll be surprised at the number of problems you could encounter! These are the main ones:
1. Stripping or Breaking Screws
Some of us feel the need to apply as much pressure as possible to drive the screw through. But that’s not actually how it’s supposed to go.
All you need to do is put enough pressure to get the screw through the hole and let the threads move in. Applying too much pressure or using the wrong screwdriver can leave you with broken or stripped screws.
2. Overdriving or Underdriving Screws
Overdriving happens when you push the screw so far into the drywall that it begins to break the surface or tear. Of course, nobody wants that!
On the other hand, if you don’t drive the screw in, you’re left with a drywall that’s not entirely secure. This means you’ll need to find the right balance, which is right when the screw head connects to the wall.
3. Improper Spacing or Depth
If you place the screws inconsistently throughout the drywall, you risk the wall’s integrity.
The only way to avoid such an issue is to follow the previous tip and learn the drywall’s thickness and the stud or joist behind it. You’ll also need to keep the screws in an even pattern so they’re spaced at the same distance.
How to Remove Drywall Screws
Luckily, if you mess up with the screws, they can easily be pulled off in one of the following ways:
- Pliers or vice grips: They grip the screw head firmly, and it’s out with a couple of twists!
- Screw extractor: this is a professional tool that’ll help pull the screw right out without any damage.
- Rubber band and screwdriver: Here, you just need to place the rubber band on the screw head, insert the screwdriver, and apply pressure while turning the screw; it’ll act as a grip and help remove it.
Now, to patch up all the holes you left in the wall, follow the method below:
- Use a small putty knife and apply spackle or joint compound over the hole until it’s filled in
- After the putty is dry, use sandpaper to smooth out the surface until it blends with the wall again
- Finally, prime the area and paint it over with your desired color
Conclusion
So, do you feel like you’re ready to tackle your first DIY project? With this newfound knowledge about drywall screws, I sure hope so!
To recap, you’ll find fine or coarse threaded, self-drilling, traditional, and drywall screws made especially for gypsum material or cement boards. The most popular drywall screw sizes are 1, 1¼, 1⅝, and 2-inch, while the gauges are 0.1380 and 0.1640-inch.
Each project requires a different type of screw with a different length, so be careful! Finally, make sure you use proper spacing and pre-drill into hard materials. Good luck!


